- 话题1/3
94k 热度
66k 热度
82k 热度
11k 热度
25k 热度
- 置顶
- 🎉 #CandyDrop合约挑战# 正式开启!参与即可瓜分 6 BTC 豪华奖池!
📢 在 Gate 广场带话题发布你的合约体验
🎁 优质贴文用户瓜分$500 合约体验金券,20位名额等你上榜!
📅 活动时间:2025 年 8 月 1 日 15:00 - 8 月 15 日 19:00 (UTC+8)
👉 活动链接:https://www.gate.com/candy-drop/detail/BTC-98
敢合约,敢盈利
- 🎉 攒成长值,抽华为Mate三折叠!广场第 1️⃣ 2️⃣ 期夏季成长值抽奖大狂欢开启!
总奖池超 $10,000+,华为Mate三折叠手机、F1红牛赛车模型、Gate限量周边、热门代币等你来抽!
立即抽奖 👉 https://www.gate.com/activities/pointprize?now_period=12
如何快速赚成长值?
1️⃣ 进入【广场】,点击头像旁标识进入【社区中心】
2️⃣ 完成发帖、评论、点赞、发言等日常任务,成长值拿不停
100%有奖,抽到赚到,大奖等你抱走,赶紧试试手气!
截止于 8月9日 24:00 (UTC+8)
详情: https://www.gate.com/announcements/article/46384
#成长值抽奖12期开启#
- 📢 Gate广场 #NERO发帖挑战# 秀观点赢大奖活动火热开启!
Gate NERO生态周来袭!发帖秀出NERO项目洞察和活动实用攻略,瓜分30,000NERO!
💰️ 15位优质发帖用户 * 2,000枚NERO每人
如何参与:
1️⃣ 调研NERO项目
对NERO的基本面、社区治理、发展目标、代币经济模型等方面进行研究,分享你对项目的深度研究。
2️⃣ 参与并分享真实体验
参与NERO生态周相关活动,并晒出你的参与截图、收益图或实用教程。可以是收益展示、简明易懂的新手攻略、小窍门,也可以是行情点位分析,内容详实优先。
3️⃣ 鼓励带新互动
如果你的帖子吸引到他人参与活动,或者有好友评论“已参与/已交易”,将大幅提升你的获奖概率!
NERO热门活动(帖文需附以下活动链接):
NERO Chain (NERO) 生态周:Gate 已上线 NERO 现货交易,为回馈平台用户,HODLer Airdrop、Launchpool、CandyDrop、余币宝已上线 NERO,邀您体验。参与攻略见公告:https://www.gate.com/announcements/article/46284
高质量帖子Tips:
教程越详细、图片越直观、互动量越高,获奖几率越大!
市场见解独到、真实参与经历、有带新互动者,评选将优先考虑。
帖子需原创,字数不少于250字,且需获得至少3条有效互动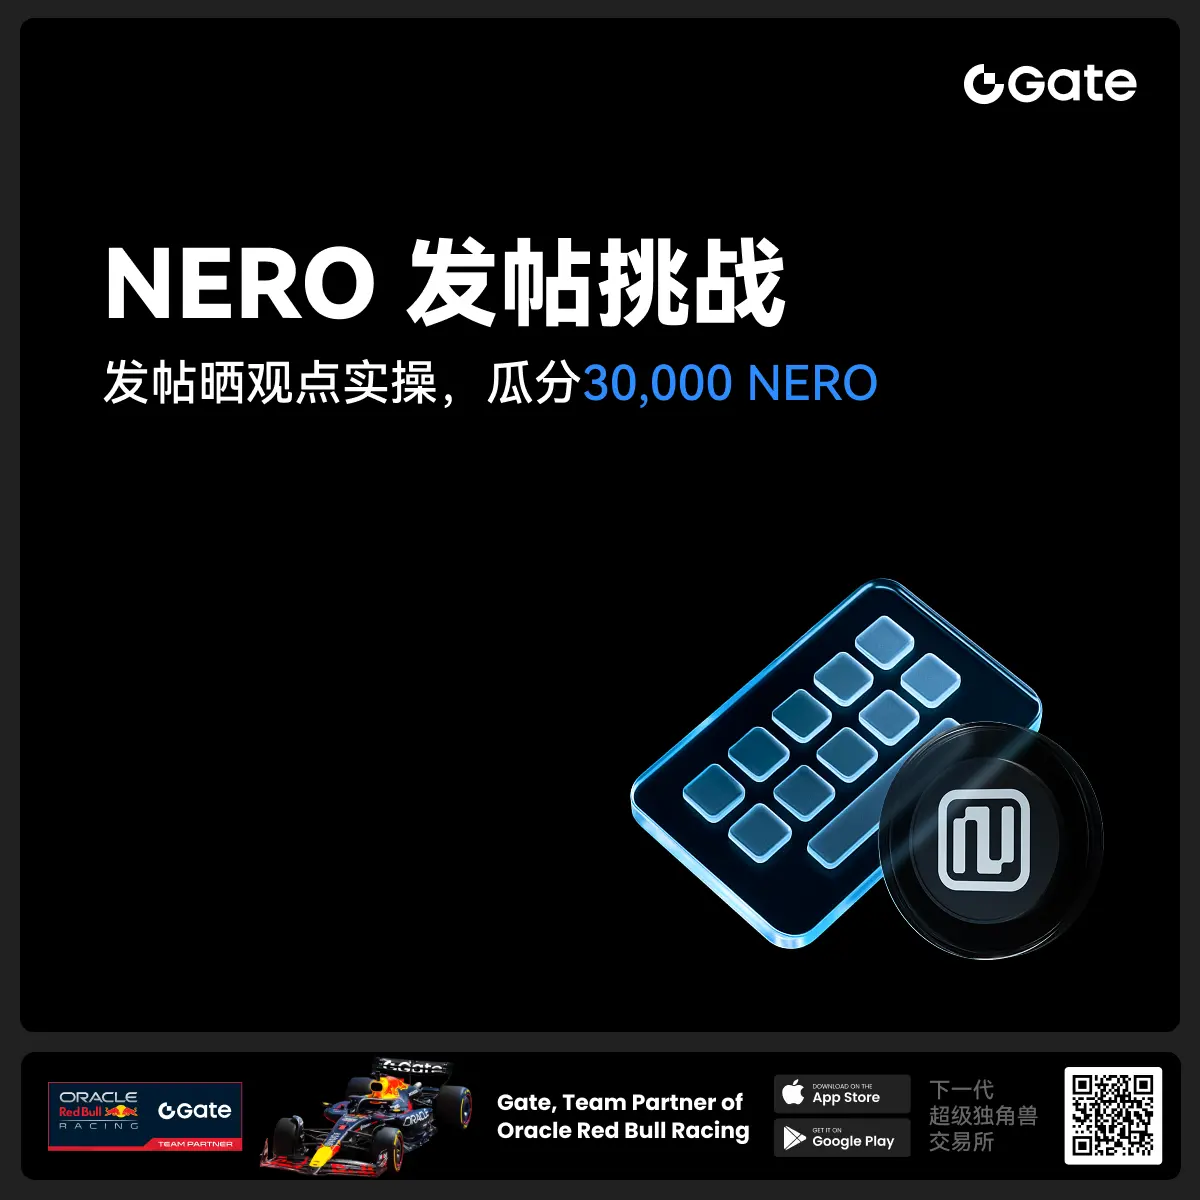
- 🎉 亲爱的广场小伙伴们,福利不停,精彩不断!目前广场上这些热门发帖赢奖活动火热进行中,发帖越多,奖励越多,快来GET你的专属好礼吧!🚀
1️⃣ #GateLaunchpad上线IKA# |IKA认购体验
在Gate广场带话题晒出你的IKA Launchpad认购体验,4位幸运分享者讲瓜分$200分享奖池!
详情 👉️ https://www.gate.com/post/status/12566958
2️⃣ #ETH冲击4800# |行情分析预测
大胆发帖预测ETH走势,展示你的市场洞察力!10位幸运用户将平分0.1 ETH 奖励!
详情 👉️ https://www.gate.com/post/status/12322403
3️⃣ #创作者活动第二期# |ZKWASM话题
在广场或推特发布与 ZKWASM 或其交易活动相关的原创内容,瓜分4,000枚ZKWASM!
详情 👉️ https://www.gate.com/post/status/12525794
4️⃣ #Gate广场征文活动第二期# |ERA话题
谈谈你对ERA的观点/体验,参与并推广活动,700 ERA大奖等你赢!
详情 👉️ https://www.gate.com/post/status/12361653
5️⃣ #MBG任务挑战# |MBG话题
分享你对MBG的洞察,积极参与和推广MBG活动,20位小
EXPLAINER GUIDE | How to Create a Successful Discord Server for Your Web3 Needs
Discord has become an essential communication tool for Web3 communities. In the Web3 ecosystem, Discord serves as a hub for project updates, community discussions, and collaboration between developers, investors, and users.
Web3 is all about decentralization and community-driven development. The Web3 communities rely on effective communication and collaboration to develop successful projects. Discord provides a platform that allows developers and users to communicate in real-time, share ideas, and get feedback on their projects.
Why Discord is Essential for Growing a Successful Web3 Product
Discord is an essential tool for building and growing successful Web3 products for a variety of reasons. Here are some of the key benefits of using Discord for Web3 communities:
Now that we’ve established the importance of Discord for Web3 communities, let’s dive into how to create and run a successful Discord server:
1.) Create a Discord Account
To create a Discord server, you’ll first need to create a Discord account. Go to the Discord website (discord.com) and click on the ‘Sign Up’ button in the top right corner.
Follow the prompts to create your account.

2.) Create a New Server
Once you’ve created your account, you can create a new server. Click on the ‘+’ icon in the left-hand side bar and select ‘Create Server.’
Give your server a name and choose a region.

3.) Customize Your Server
With your server created, you can customize it to your liking. Click on the ‘Server Settings’ button and navigate to the various tabs to customize your server.
Here are some of the key settings to consider:
Assign roles and permissions: Assign roles and permissions to members to control what they can see and do on your server.
To assign permissions, click on the menu next to the server name. Go to server settings.

Select the ‘Create Role’ option from the ‘Roles’ tab. Give each role a name. It could be based on a game ranking, a team, or anything else, such as a DJ for music.

Now, select the ‘Permissions’ tab of the role. Here, you can grant permissions for activities like sending and reacting to messages or banning members.

Create channels and categories to organize your server’s content. These categories include FAQs, general information, giveaways, and announcements.
A Discord server can have text and voice channels. To set these up, launch the app and go to the server. Click on the plus sign next to the indicated text or voice channel.

Give this a name and click on create channel button:

4.) Invite People to Your Server
With your server set up and customized, it’s time to invite people to join. Click on the ‘Invite People’ button and copy the invite link. You can then share this link with others to invite them to your server.

5.) Manage Your Server
As your server grows, you’ll need to manage it to ensure that it stays organized and secure. Here are some key management tasks to consider:
By following these steps, you can set up and manage a Discord server that is customized to your needs and helps you connect with others in the Web3 community.
Follow us on Twitter for latest posts and updates
_____________________________________
_____________________________________